liam zheng
on 24 June 2020
This article is written by Taiten Peng.
Have you got i.MX6 hardware and are wondering how Ubuntu Core would run on it? In this blog, we will build an Ubuntu Core 18 image with the generic Ubuntu kernel for an i.MX6 based Boundary Devices board.
The Nitrogen6X hardware from Boundary Device is well supported upstream and kernel patches have already landed into Ubuntu 4.15 LTS kernel. This allows you to create an Ubuntu Core 18 image and try an official kernel from Canonical.
What you’ll need
Reference hardware: Nitrogen6X with 2GB memory
Tools – build environment:
- Host OS: Ubuntu 18.04 LTS 64bit
- Tools: ubuntu-image, snapcraft
Perform the following command to install ubuntu-image and snapcraft:
sudo snap install --classic ubuntu-image
sudo snap install --classic snapcraft
At a glance, understanding the basics
In order to build an Ubuntu Core image, there are essential components that need to be prepared such as a gadget snap or signed model assertion file. A kernel snap is also required, technically, but it does not have to be a custom kernel snap on the Nitrogen6X hardware.
Building a custom Ubuntu Core image for i.MX6
Using Nitrogen6X hardware as an example.
Build a gadget snap
Example gadget snap for nitrogen6q2g board with upstream u-boot source.
Create a model assertion and sign
Example model json file
{
  "type": "model",
  "authority-id": "YOUR_ID",
  "brand-id": "YOUR_ID",
  "series": "16",
  "base": "core18",
  "model": "nitrogen6x",
  "architecture": "armhf",
  "gadget": "nitrogen6",
  "kernel": "pc-kernel=18",
  "timestamp": "2019-06-21T08:56:10+00:00"
}
More detail in creating model assertion and signing can be found in this tutorial.
Build an Ubuntu Core 18 image
sudo ubuntu-image --snap YOUR_GADGET_SNAP.snap -o nitrogen6x.img YOUR_MODEL_ASSERTION.model
For instance, something like
ubuntu-image --snap nitrogen6x-gadget-snap/nitrogen6_18-0.1_armhf.snap -o nitrogen6x.img nitrogen6x.model
Installation and booting
Flash the bootloader
Nitrogen6x won’t boot the bootloader from a SDcard or USB. You will need to do the following step to update onboard SPI Flash.
Power on the machine and enter the u-boot prompt with following command:
fatload mmc 0:1 0x13000000 u-boot.imx;sf probe;sf erase 0 0xc2000;sf write 0x13000000 0x400 ${filesize}
And update u-boot environment variables…
The script loads a necessary environment setting for booting Ubuntu Core from a uboot.env file which is generated from the gadget snap.
The system will boot into Ubuntu Core 18 after reset.


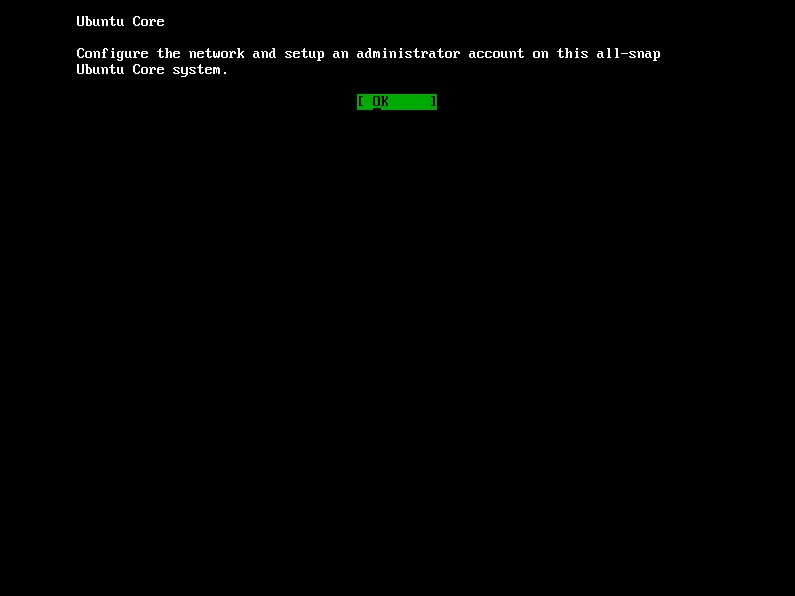
The initial boot console requires you to setup a network and Ubuntu Account. Please be aware that you will need an Ubuntu SSO account and a SSH key uploaded in order to access the Ubuntu Core device.
Advanced: Build from a custom ubuntu kernel
Be aware that once a custom kernel snap has been provided during image building, the kernel snap won’t get any update from the snap store.
For some experimental kernel patches you would like to try on Ubuntu kernel. (For example, adding support for other i.mx6 boards)
Get the source from https://kernel.ubuntu.com/git/ubuntu/ubuntu-bionic.git/
You might need to add the following patch to add additional kernel modules into initrd.img in the kernel snap.
diff --git a/snapcraft.yaml b/snapcraft.yaml
index 2452c4031066..e4a94c3059fd 100644
--- a/snapcraft.yaml
+++ b/snapcraft.yaml
@@ -17,6 +17,24 @@ parts:
     kconfigflavour: generic
     kconfigs:
       - CONFIG_DEBUG_INFO=n
+    kernel-initrd-modules:
+      - usb-storage
+      - nls_iso8859-1
Building a kernel snap with the following command:
snapcraft --target-arch=armhf
What’s next?
This article was written by Taiten Peng.


